
JiNexus Framework's installation is effortless and straightforward—just follow the steps below.
JiNexus Framework 1.1 requires:
mod_rewrite (or equivalent URL-rewriting module for your web server)mbstring extensionTo create your new JiNexus Framework application, first make sure you meet the system requirements above. Then run this single command:
composer create-project jinexus-framework/jinexus-framework-skeleton path/to/my-projectThis downloads the skeleton and its dependencies, generates the directory layout, and configures autoloading — your application is ready to run.
Next, make the cache directory writable by the web server:
chown -R www-data:www-data path/to/my-project/data/cache
chmod -R g+rwX path/to/my-project/data/cacheThe Skeleton creates a full application structure that's ready-to-go when complete. You can test it out using built-in web server.
From the project root directory, execute either of the following commands:
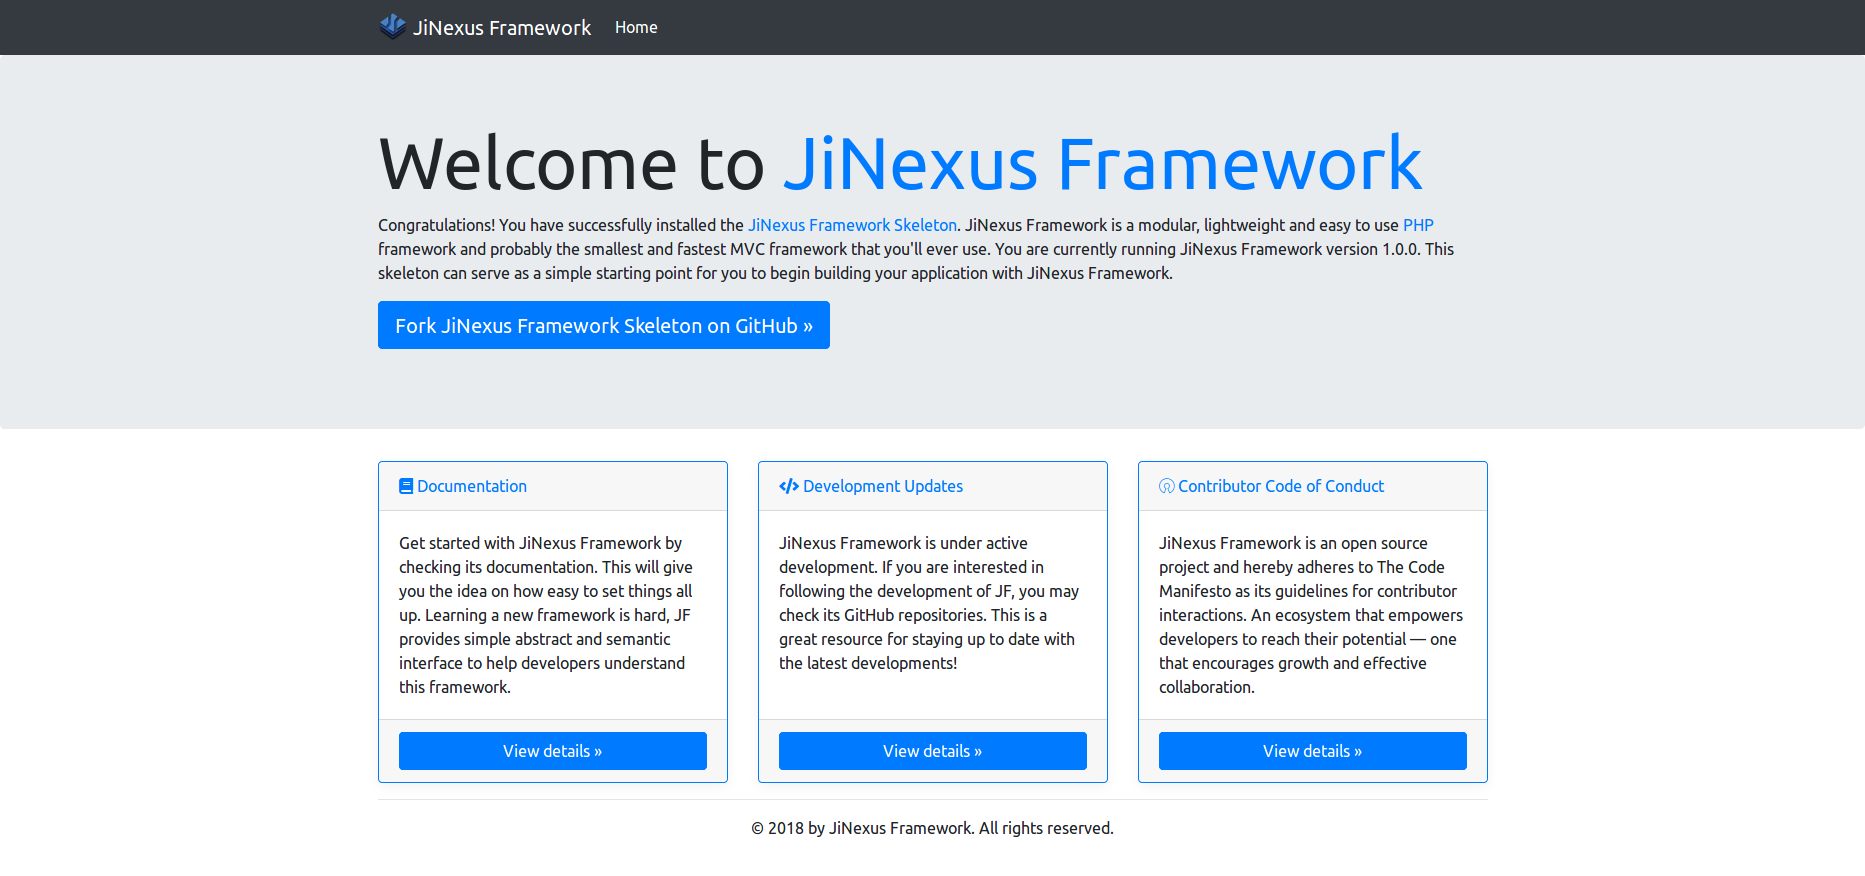
composer run --timeout=0 servephp -S localhost:8000 -t publicEither of the following commands—this will start up a web server on localhost port 8000; browse to http://localhost:8000 to see if your application responds correctly!
After installation, the skeleton project creates the following structure:
    config/
        application.config.php      Module list for the application
        modules.config.php          Enabled module namespaces
    module/
        Application/
            config/
                module.config.php       Route and view-manager configuration
            src/
                Module.php              Application module class
                Controller/
                    IndexController.php   Default controller
            view/
                application/index/      View templates
                error/                  Error page templates
                layout/                 Layout templates
    public/
        index.php                   Front controller (document root)
        .htaccess                   Apache rewrite rules
        asset/                      Static assets
    test/
        Application/                Unit tests mirroring the module structure
    data/
        cache/                      Cache directory (must be writable)
If you found a typo or error, please help us improve this document. Create Issue